How to Flock a Dashboard
See The Difference Dashboard Flocking Makes
Flocking transforms worn, shiny dashboard surfaces into a premium motorsport-style finish while reducing windscreen glare and hiding imperfections.
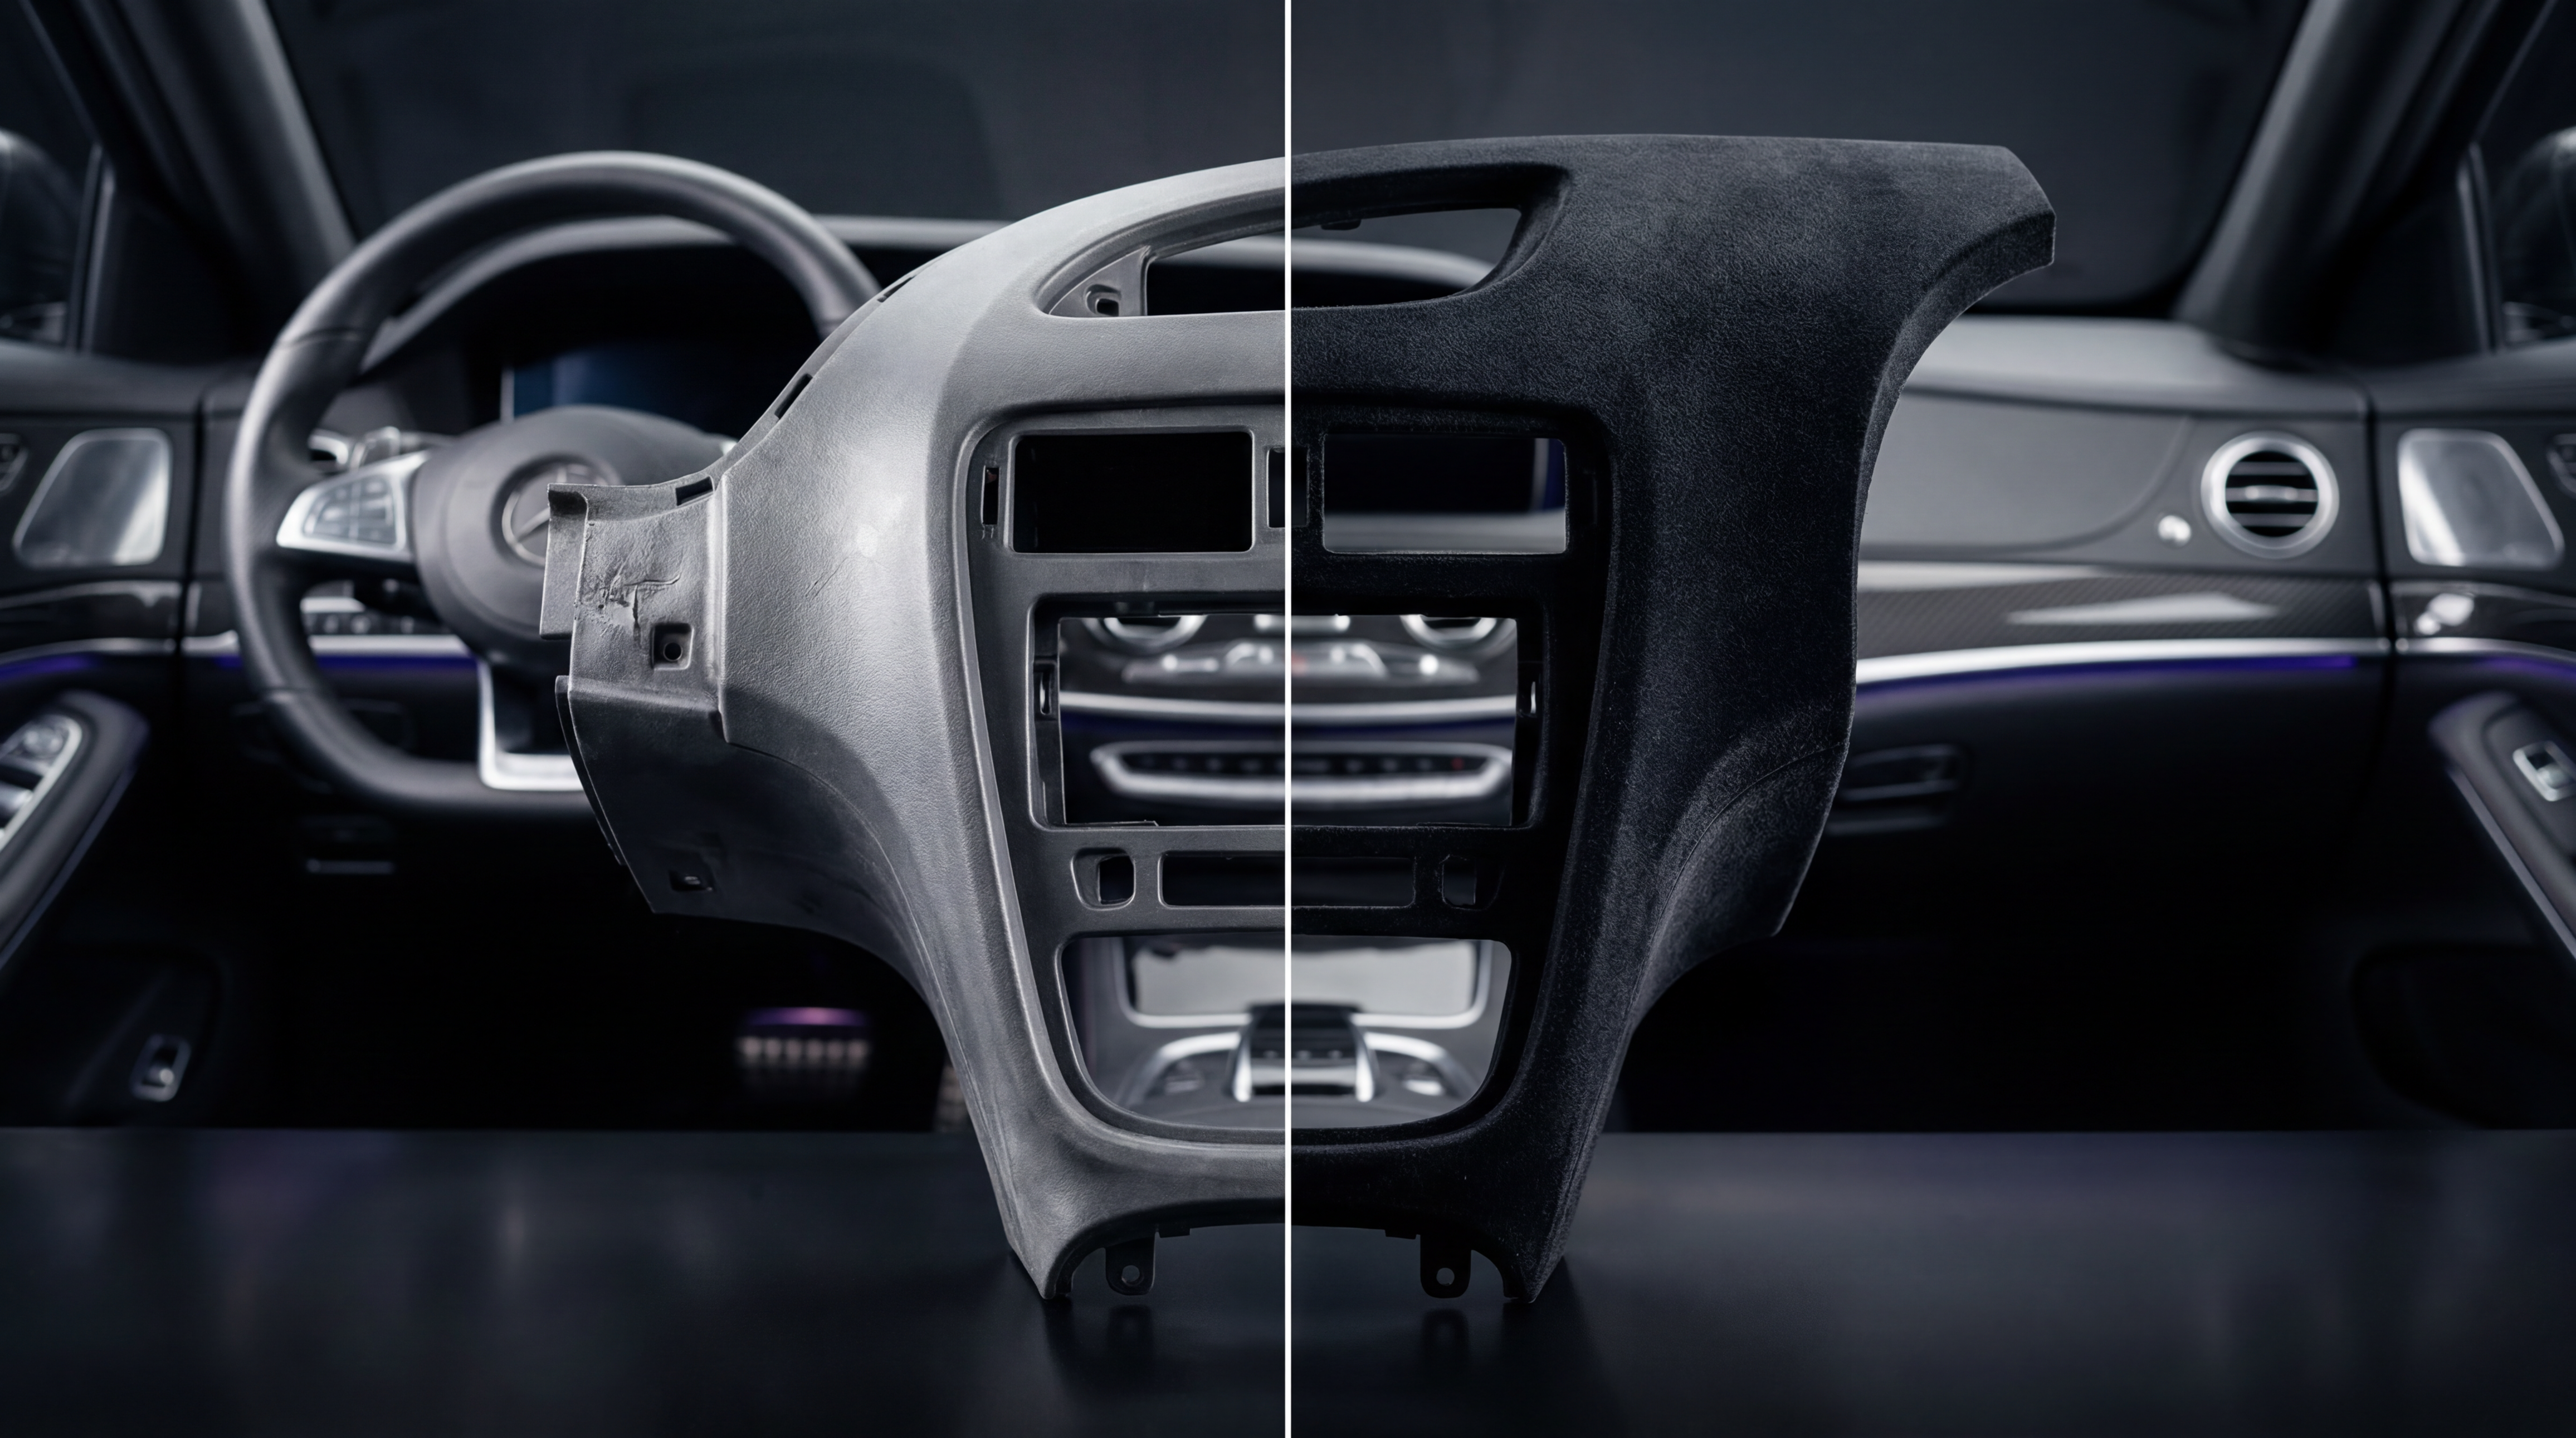
Swipe right to reveal results
Everything You Need To Flock A Dashboard
To achieve professional results, you'll need three core components: flocking adhesive, nylon flock fibres and a flocking machine.
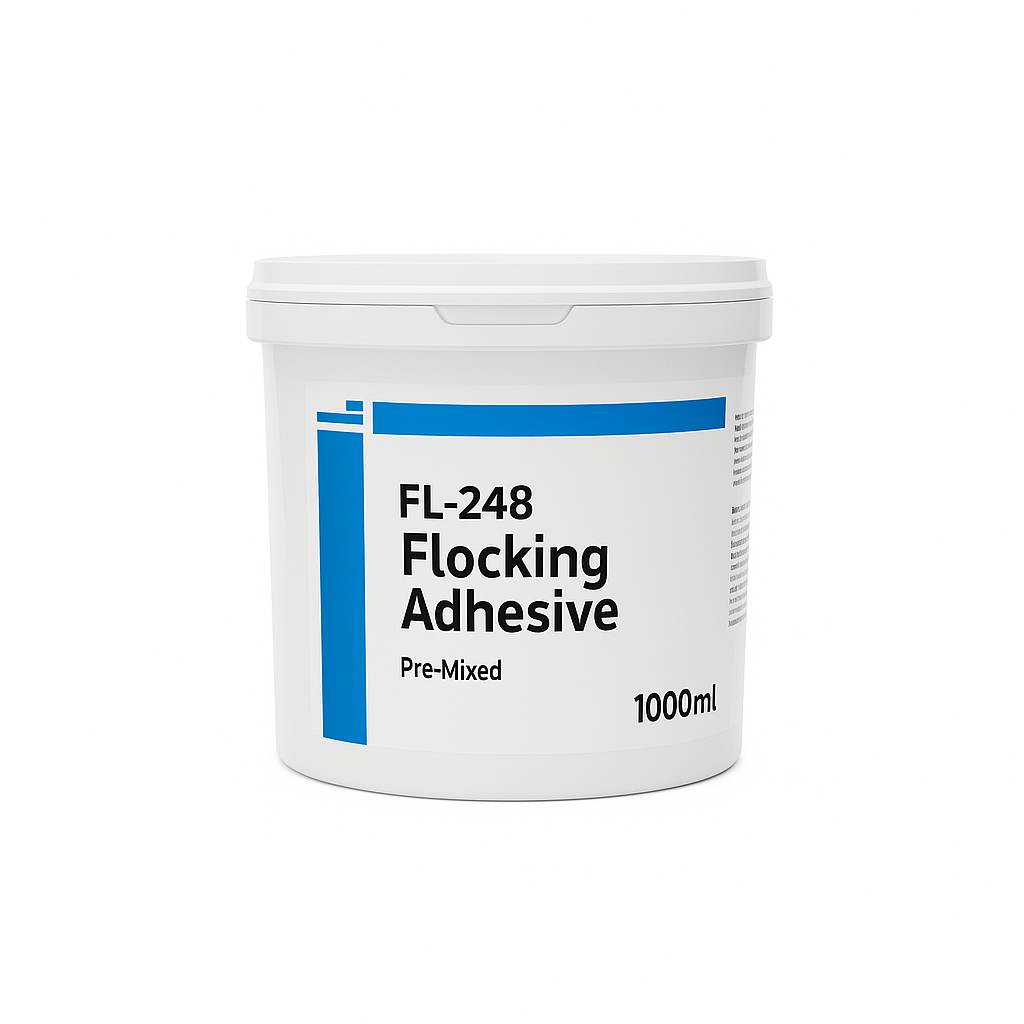
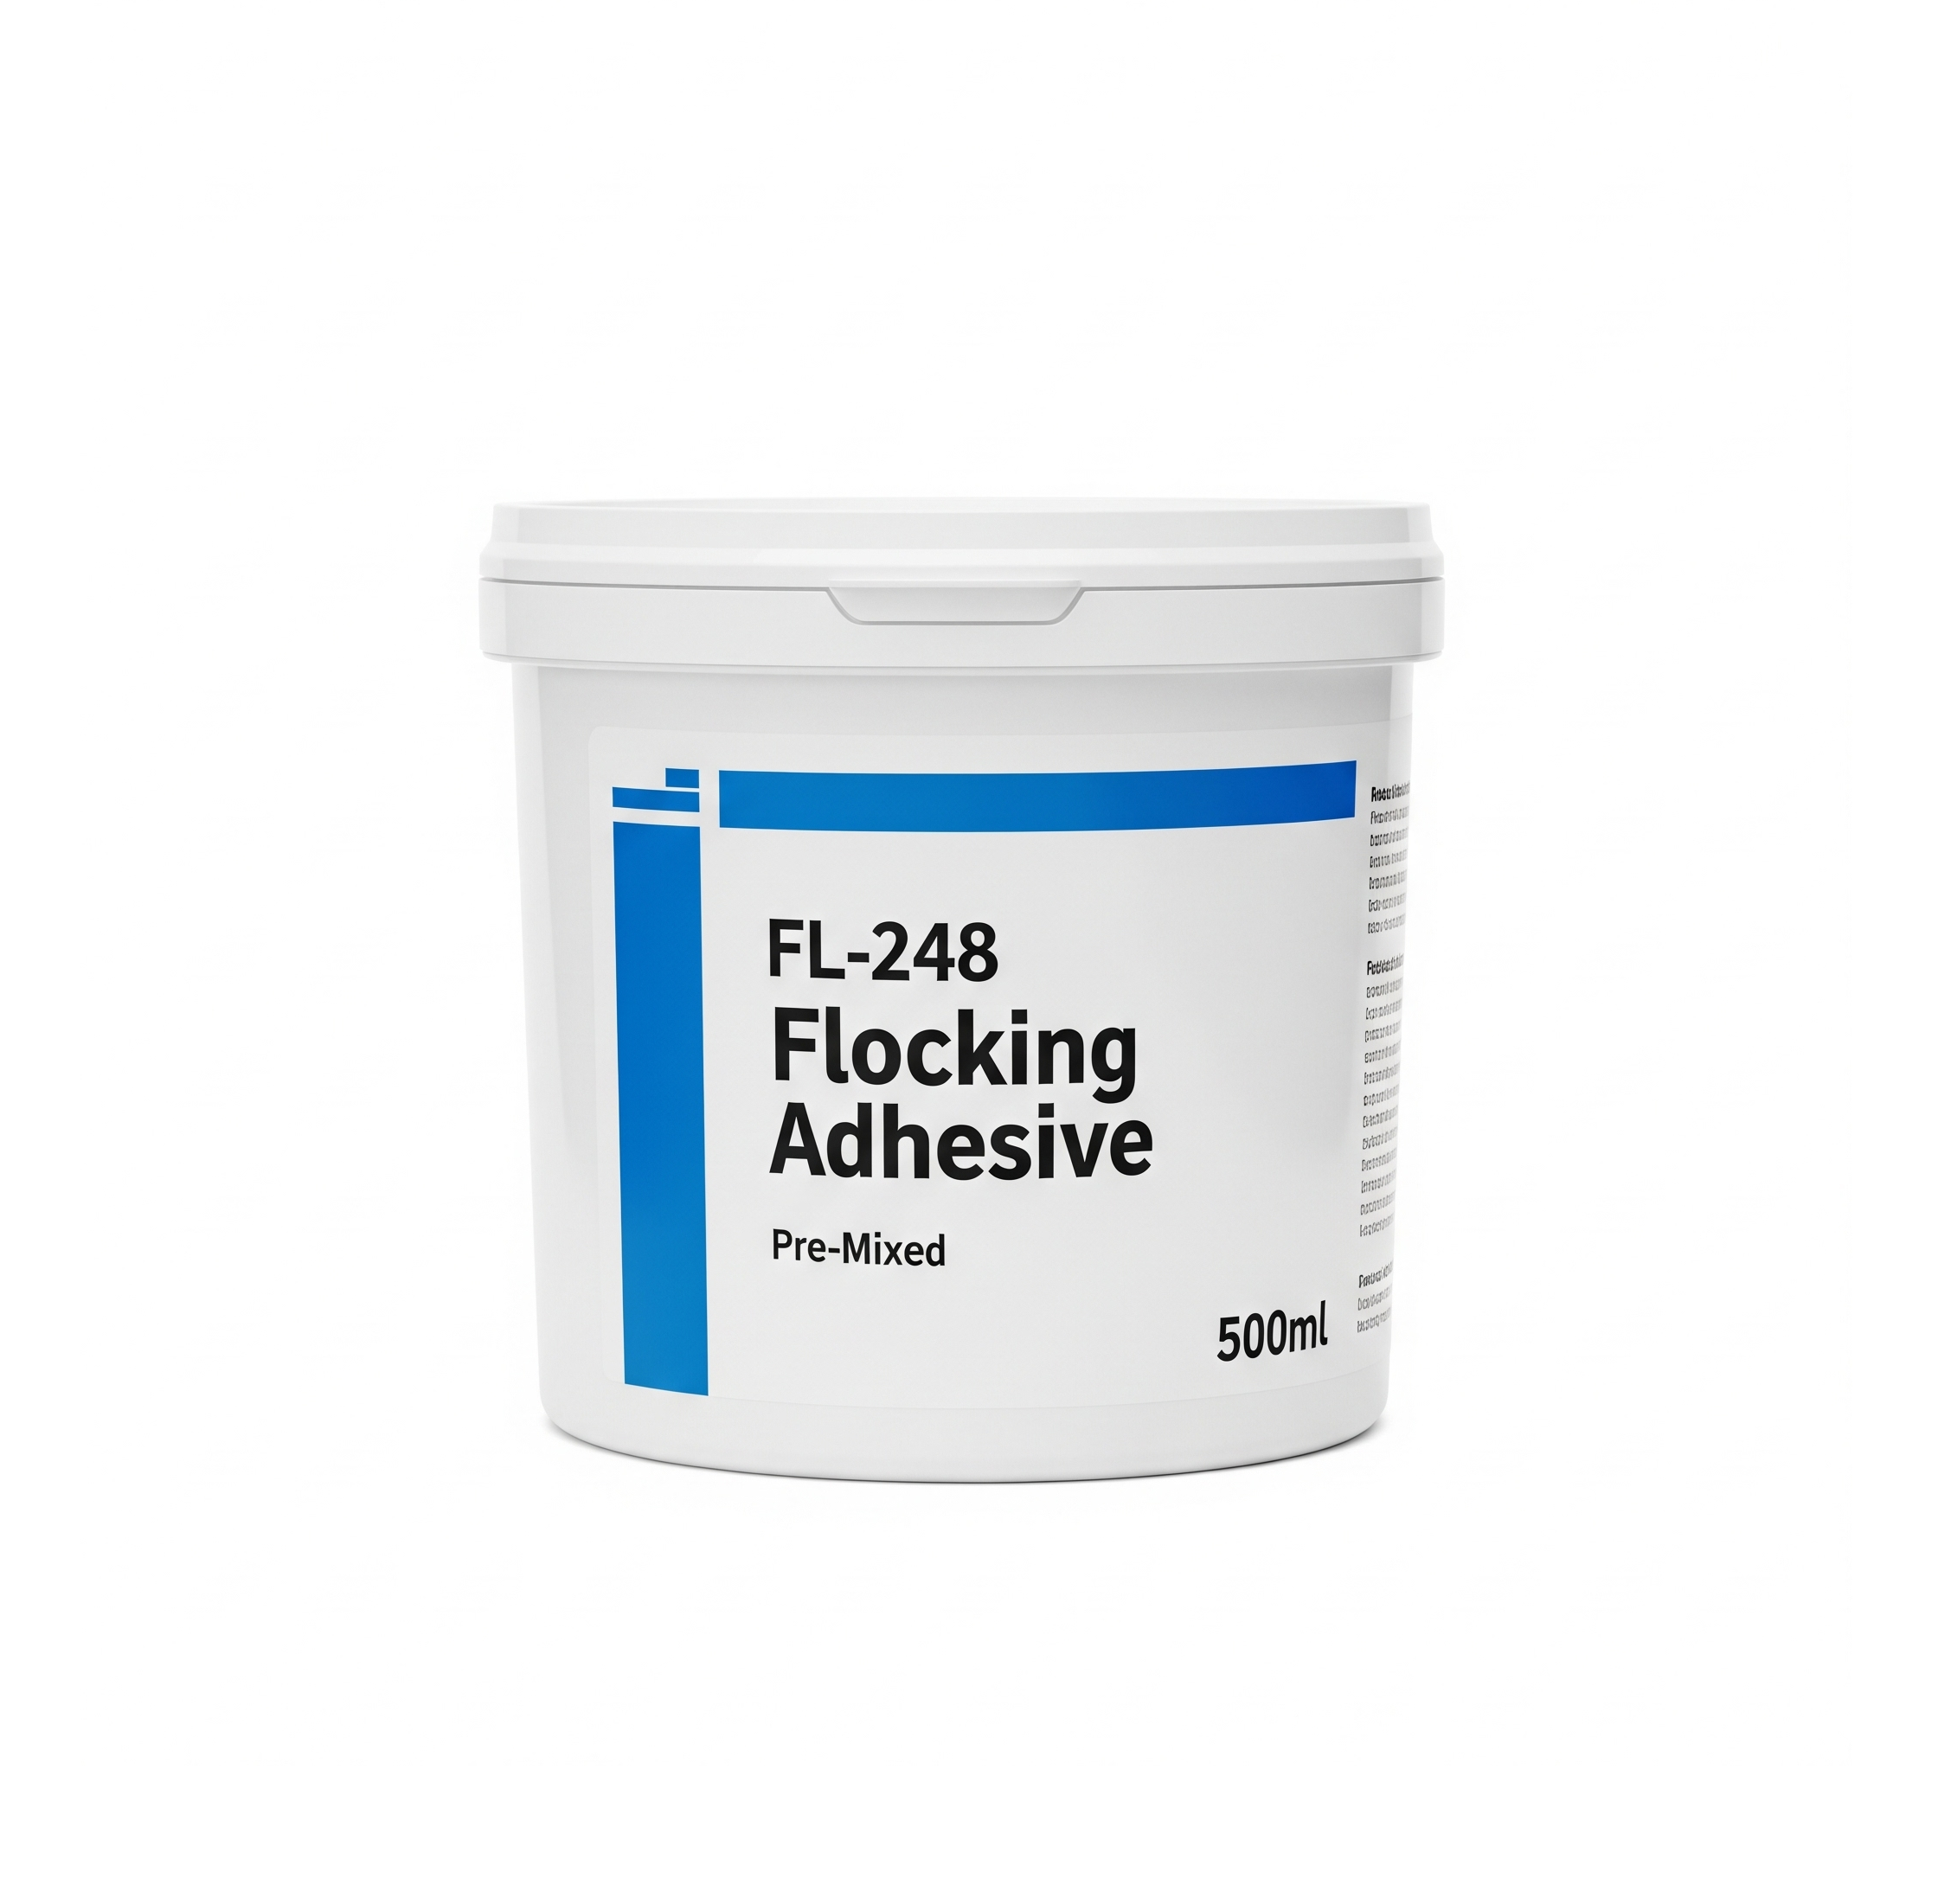
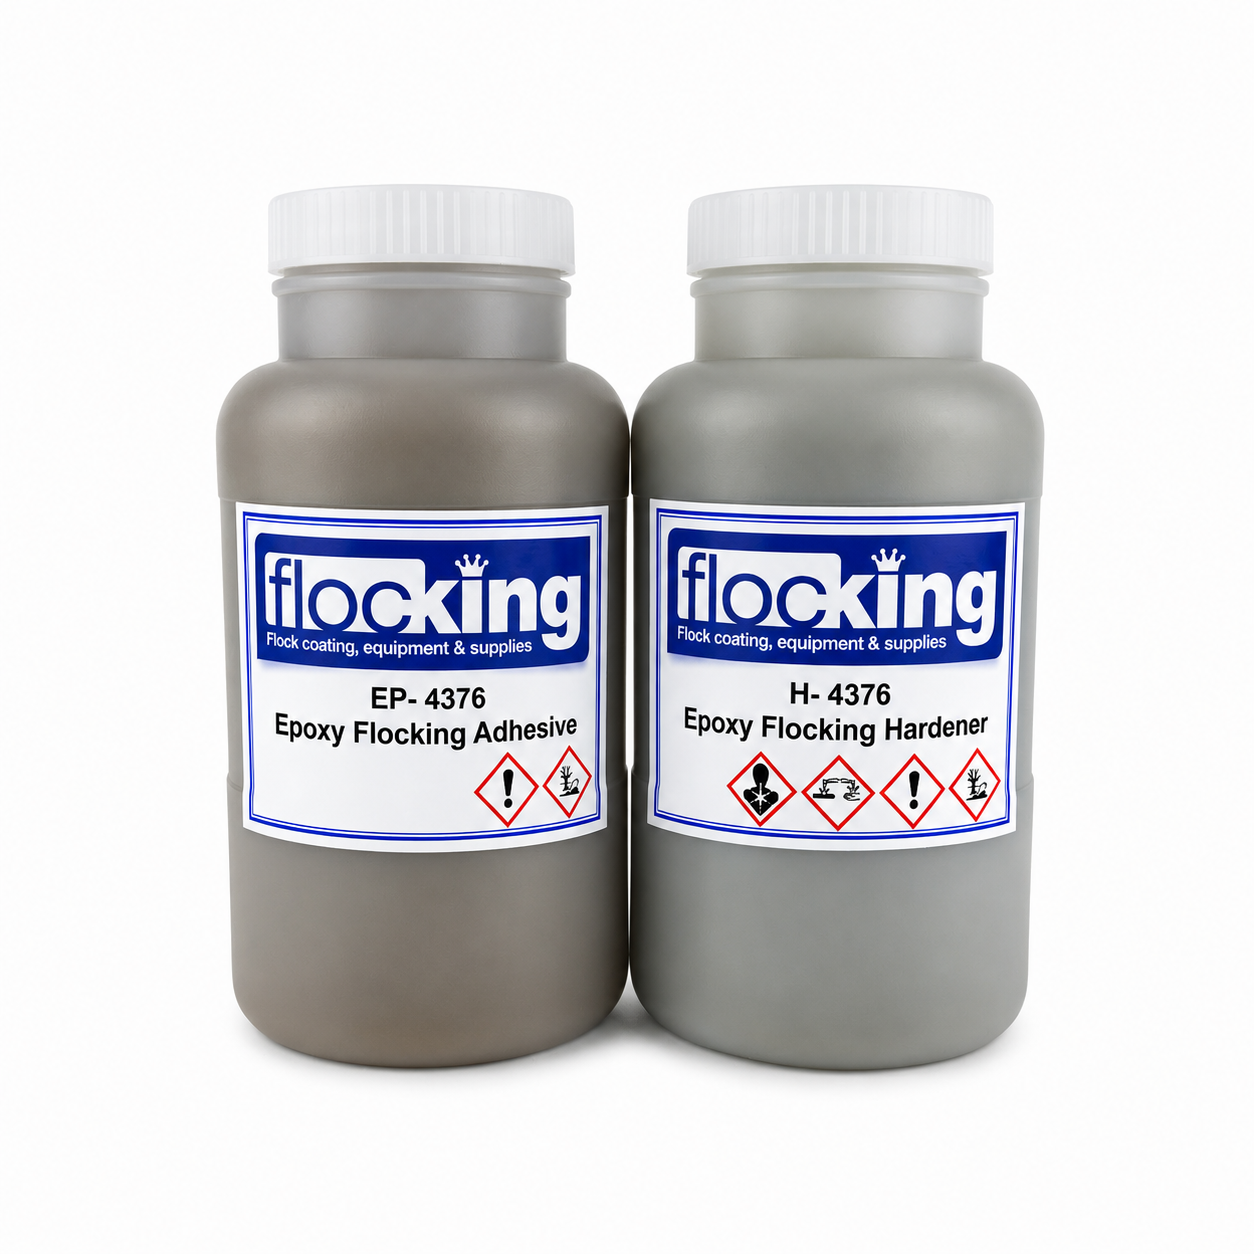
Flocking Adhesive
Creates the adhesive layer that bonds the fibres to the dashboard surface.
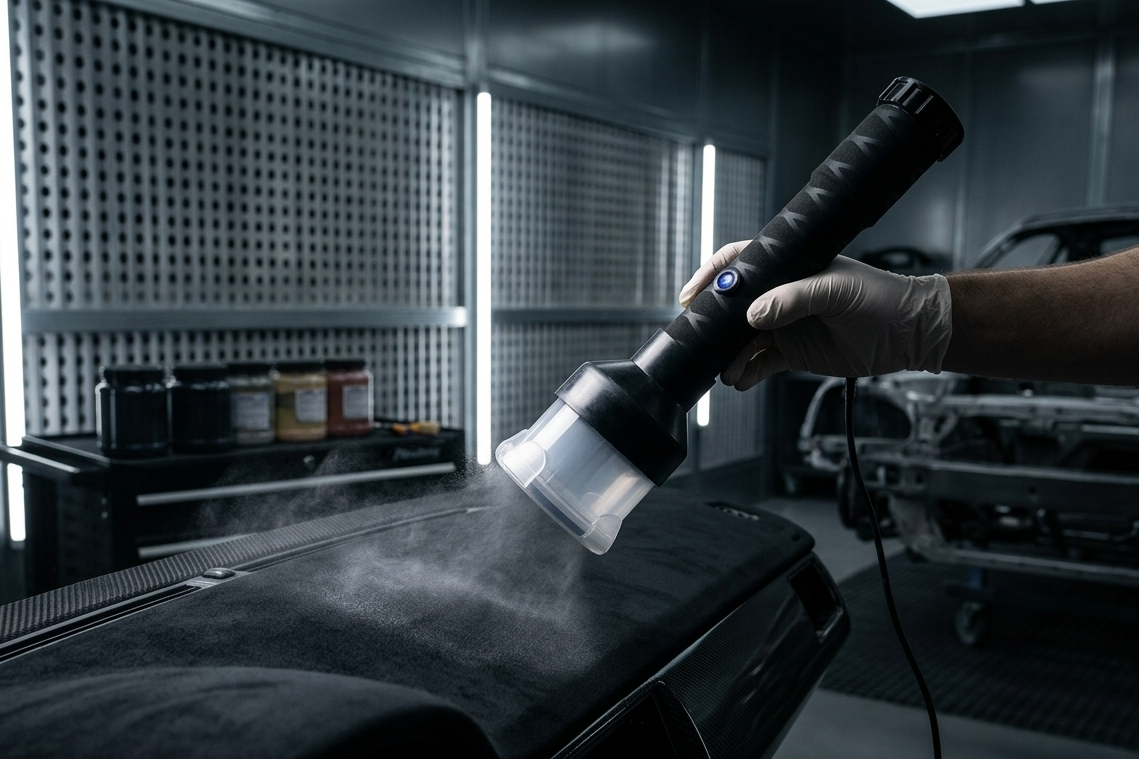
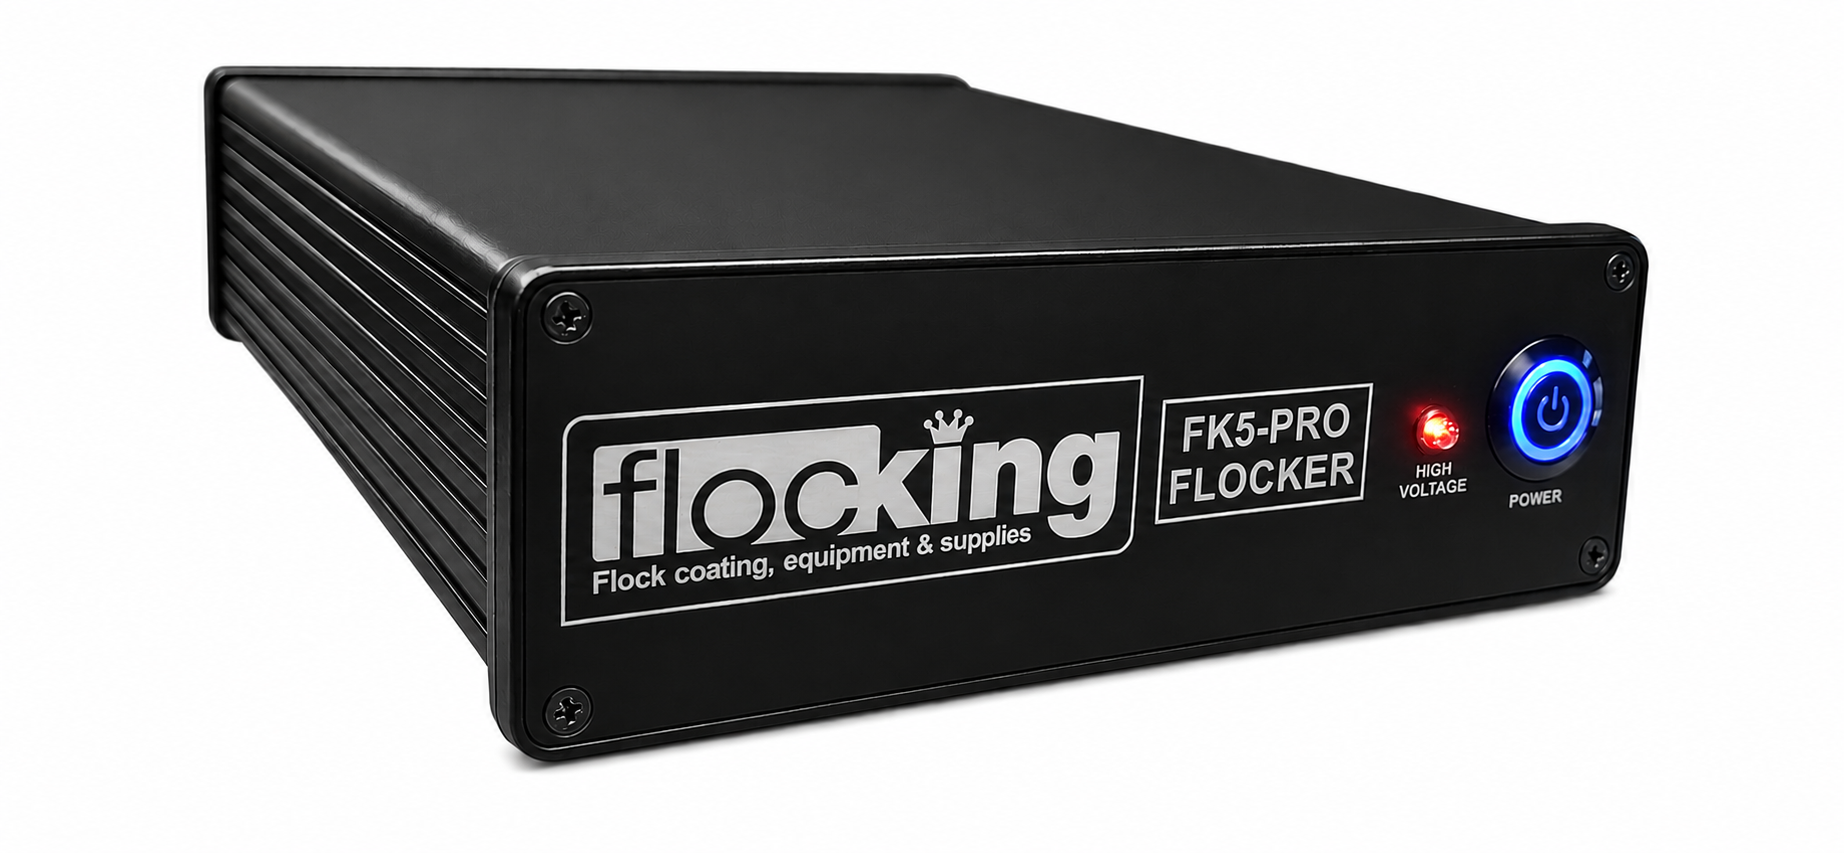
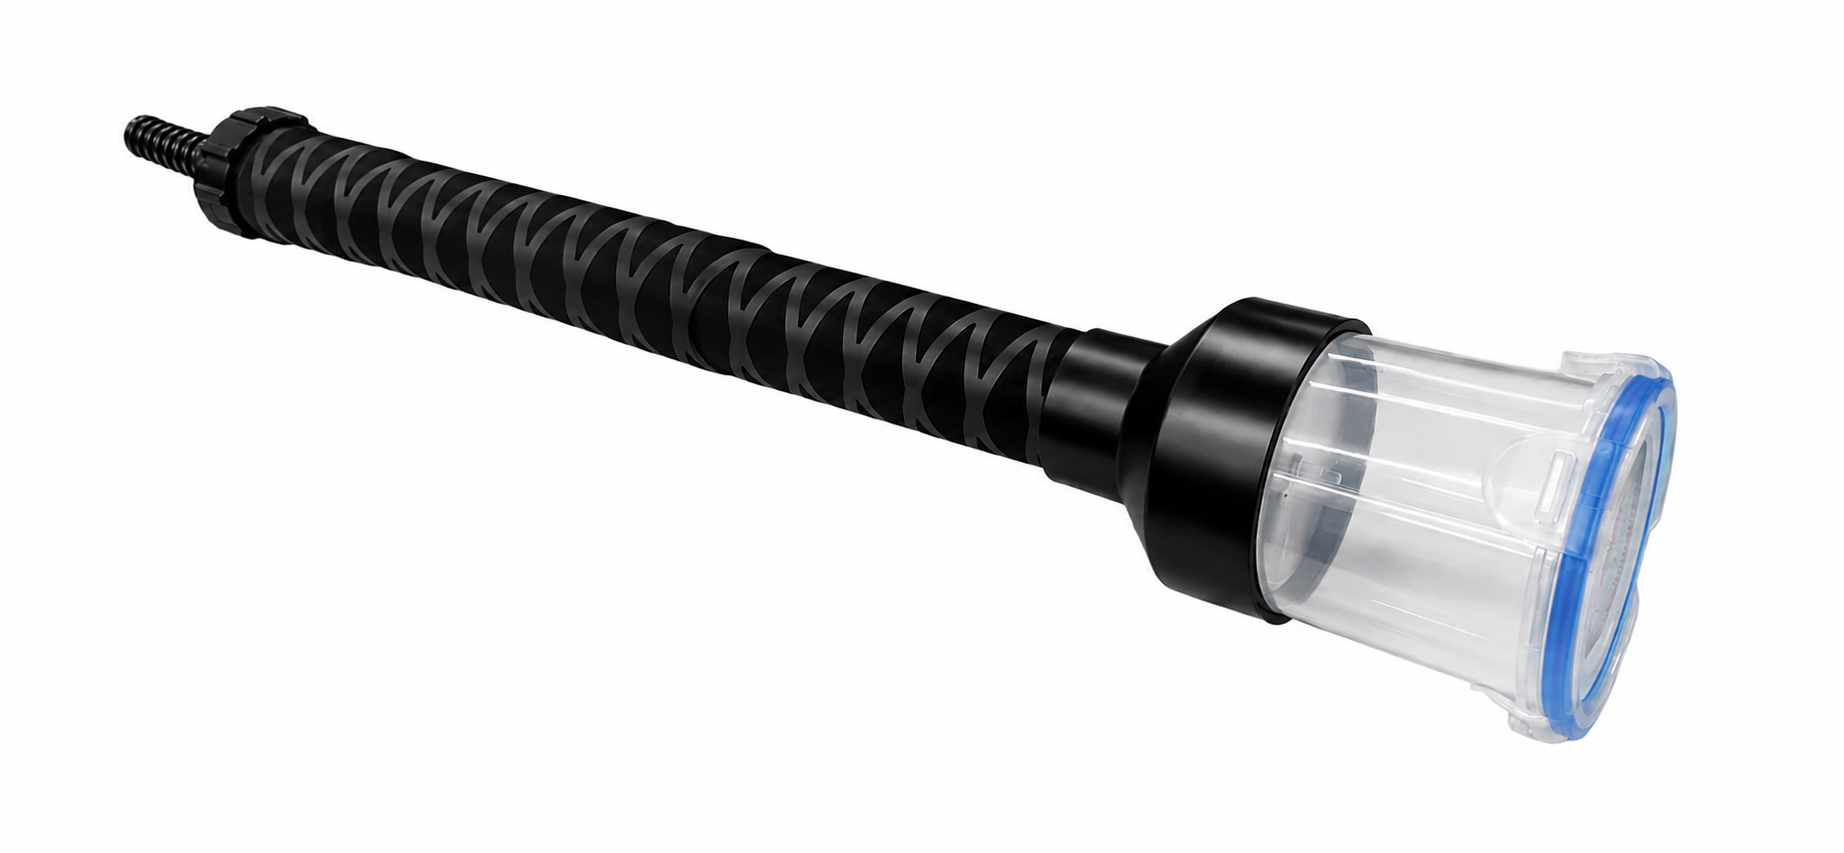
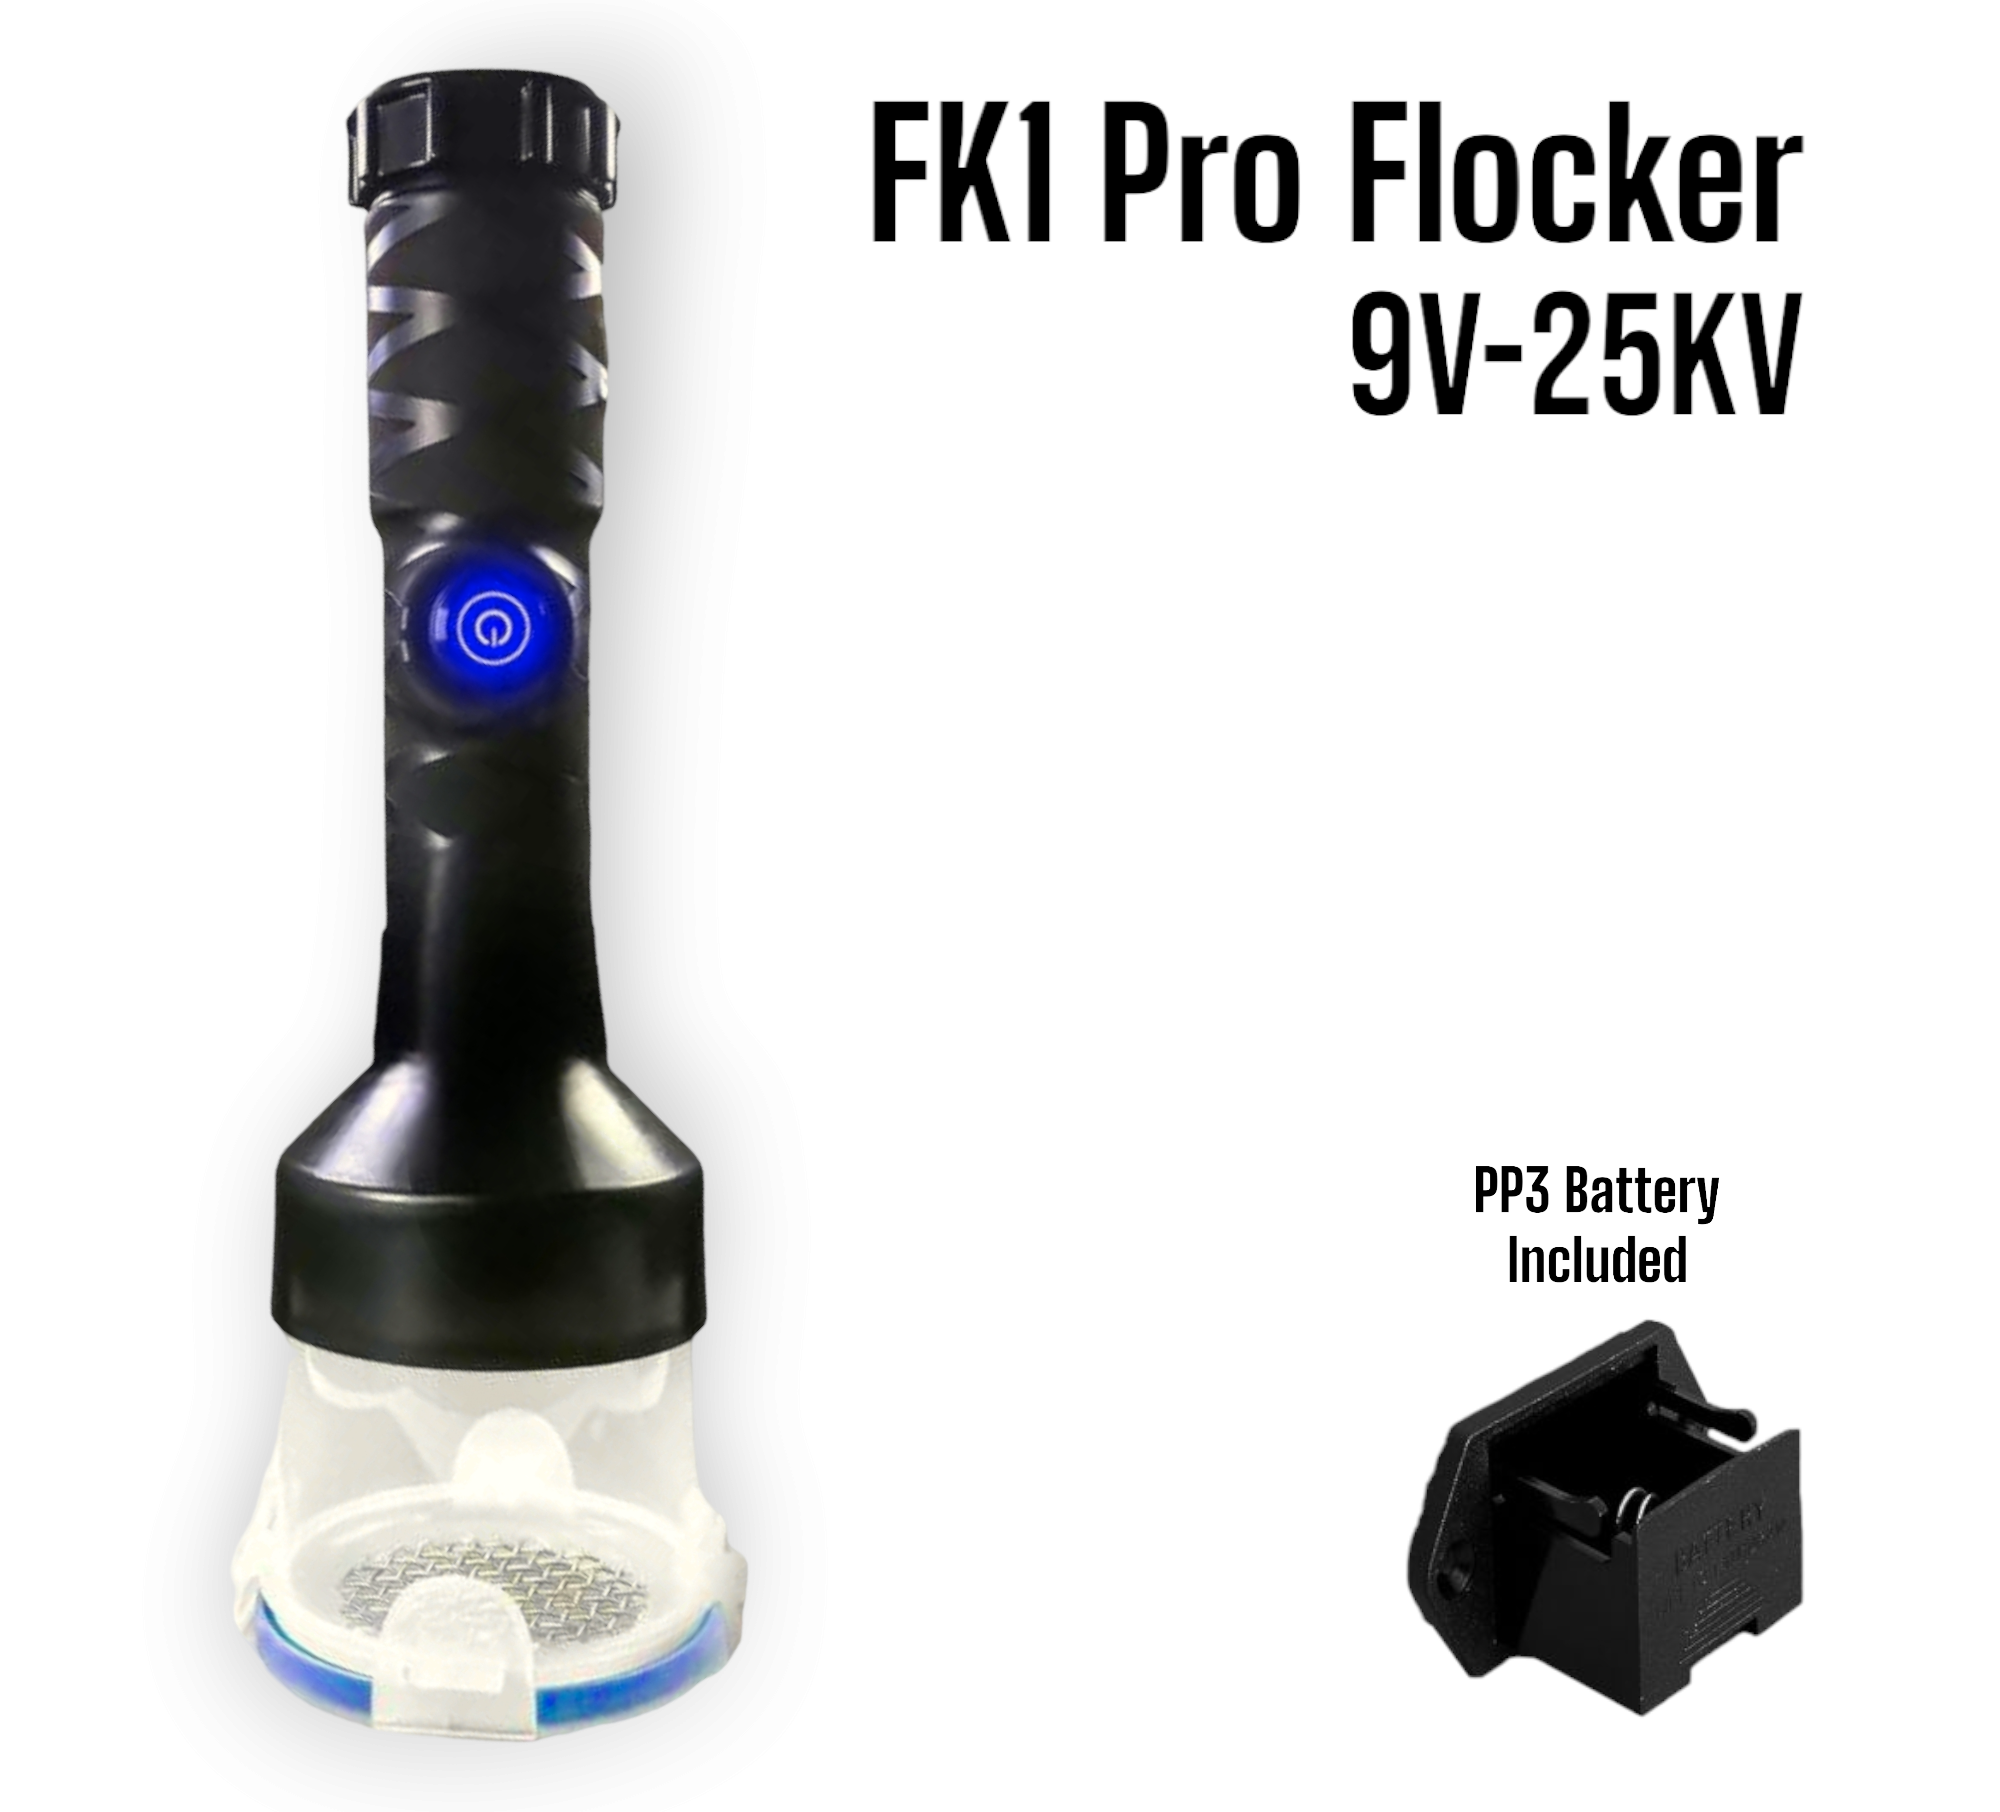
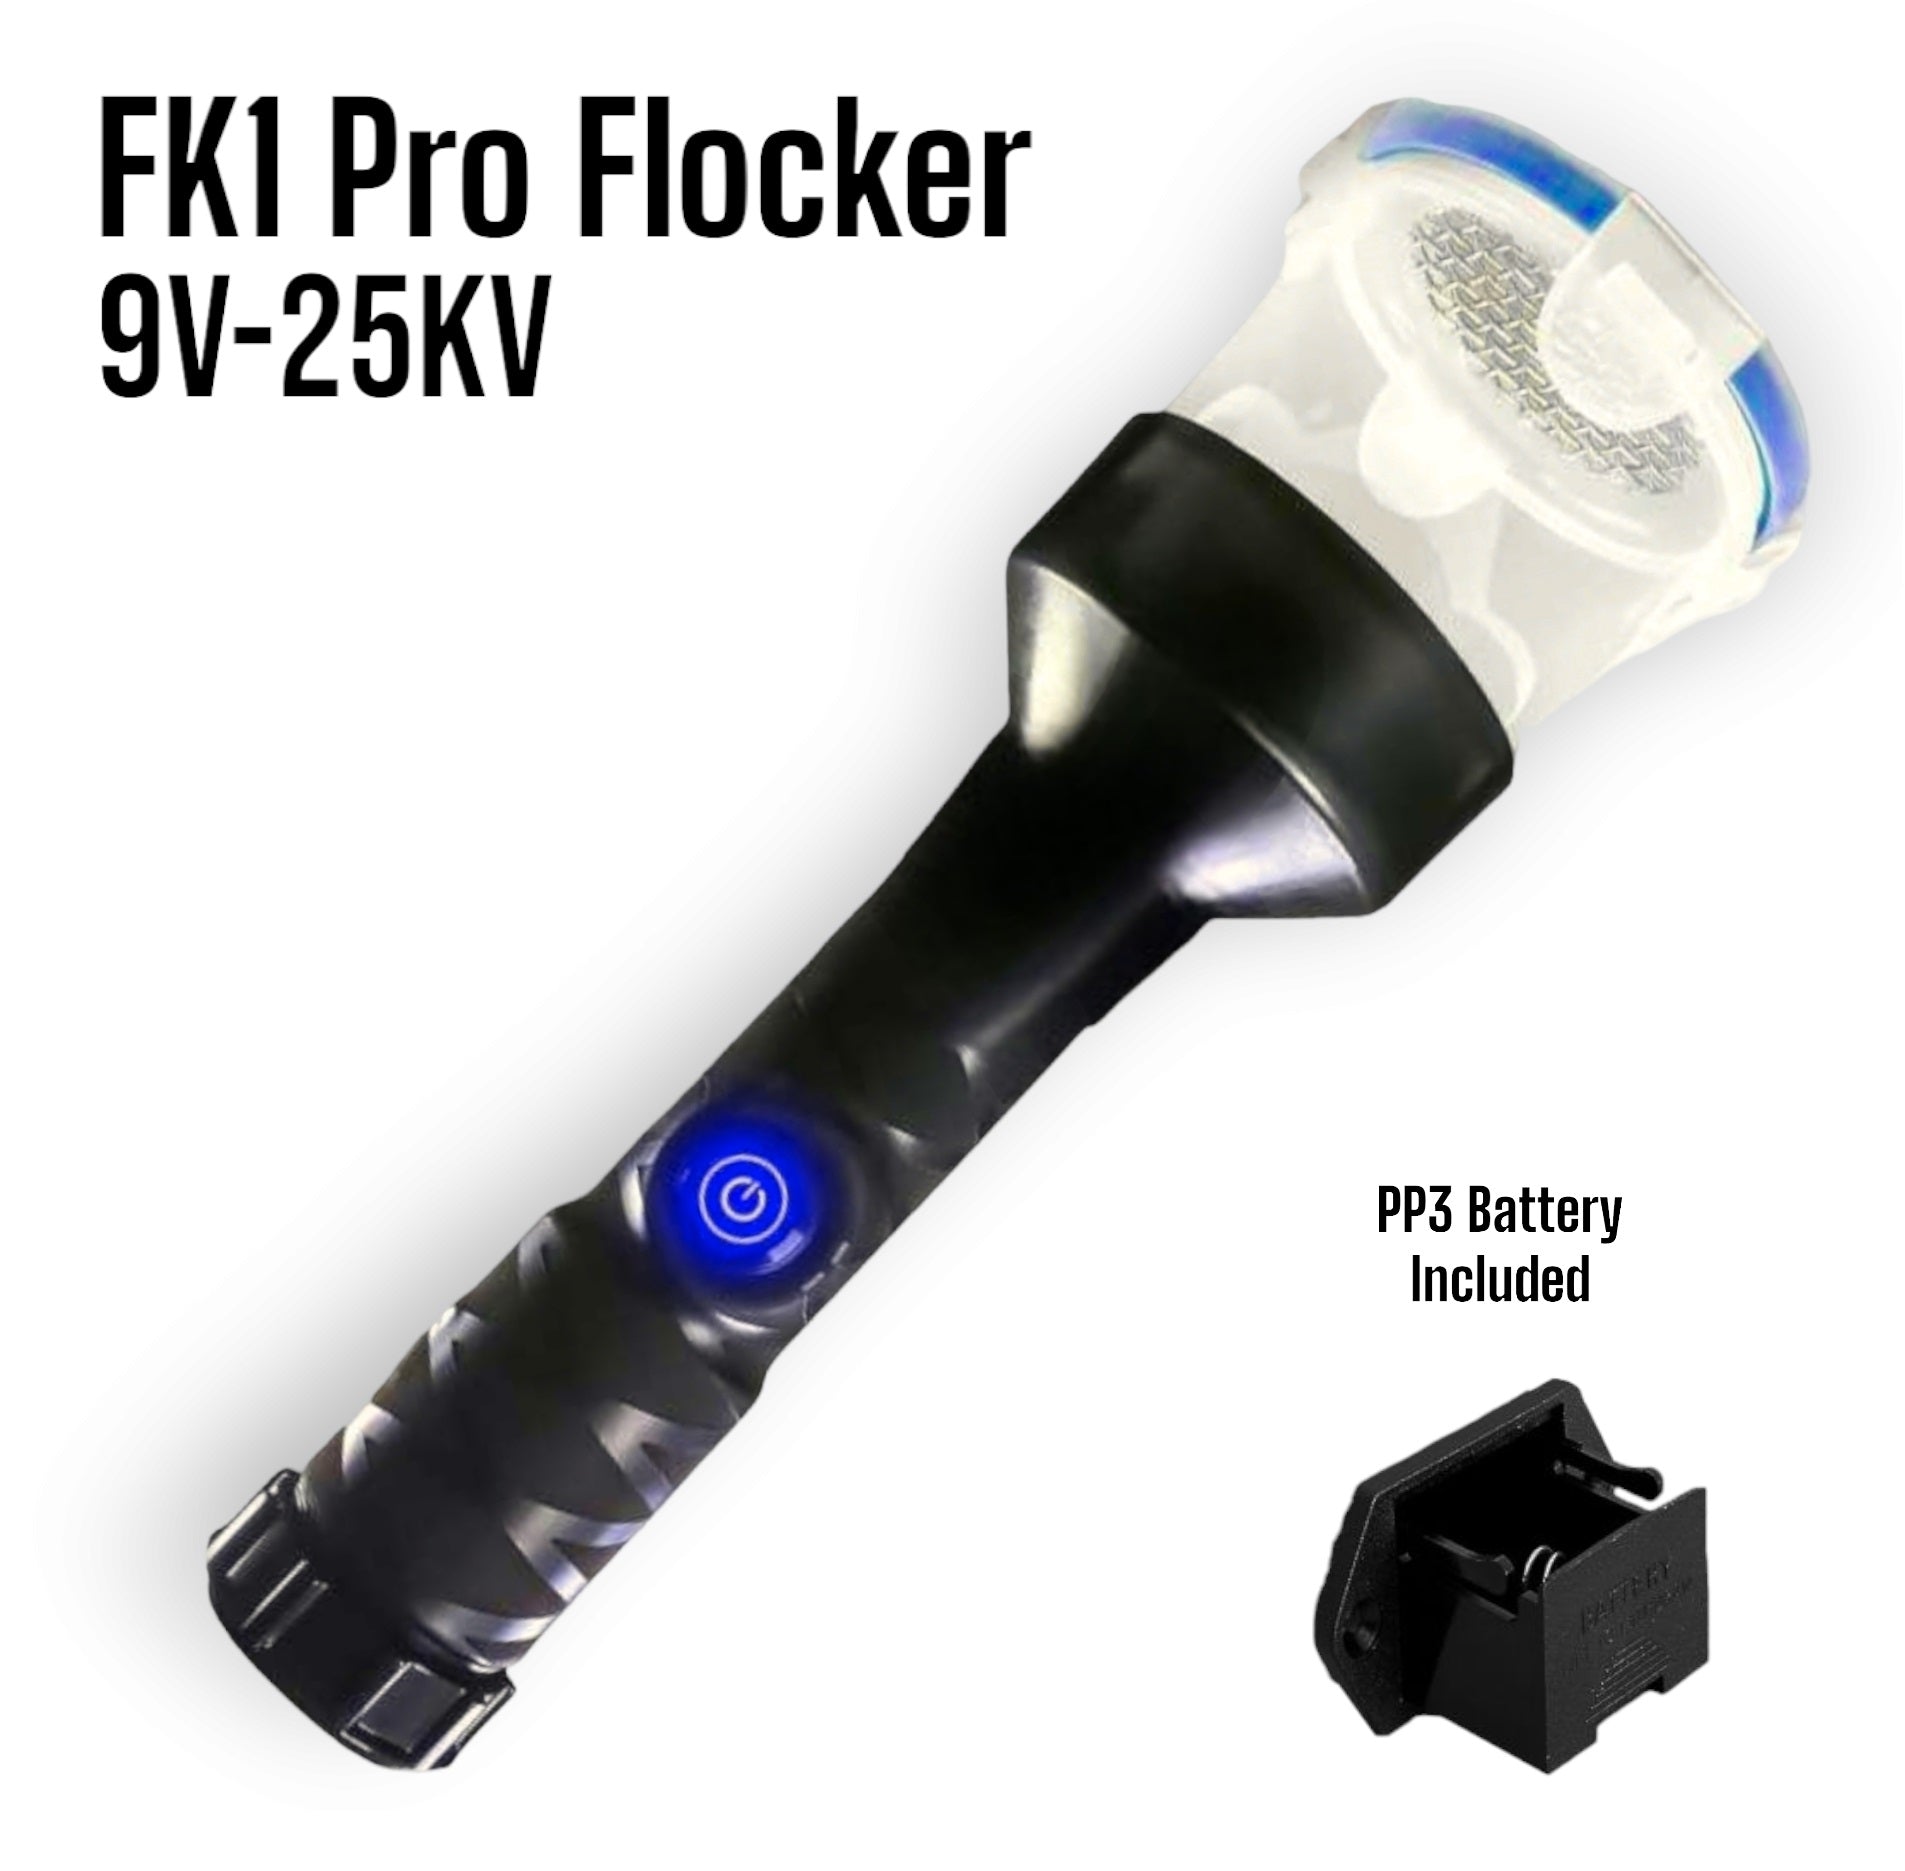
Professional Flocking Machine
Applies fibres electrostatically for maximum coverage and consistency.
Step-by-Step Dashboard Flocking Process
Step 1 – Repair and Sand the Surface
Sand the dashboard to create a suitable key for the adhesive to bond to. Repair any cracks, scratches or imperfections using an appropriate filler, then sand smooth before proceeding.
Step 2 – Clean and Prepare the Dashboard
Remove all dirt, grease, silicone, wax and loose material from the surface. Proper preparation is essential to ensure maximum adhesive adhesion and a consistent flock finish.
Step 3 – Suspend and Position the Dashboard
Suspend the dashboard using hooks, or position it so that excess flock fibres can fall away from the surface during application. This prevents fibre build-up and makes it easier to identify any areas requiring additional flock coverage.
Step 4 – Apply Flocking Adhesive
Apply an even, consistent coat of flocking adhesive across the entire surface. Avoid thin patches, as these can lead to poor flock coverage. Adhesive can be applied by brush, roller or spray equipment depending on the size and complexity of the part.
Step 5 – Apply Nylon Flock Fibres
Using a flocking machine, apply nylon flock fibres while the adhesive is still wet. Do not allow the adhesive to skin over before flocking. Ensure the earth connection is in direct contact with the adhesive-coated surface for optimum fibre orientation and coverage.
Step 6 – Allow to Cure
Allow the flocked dashboard to dry completely before handling. Once cured, remove any loose fibres using compressed air or a soft brush to reveal the finished flocked surface.
Avoid These Common Flocking Mistakes
✓ Poor surface preparation
✓ Poor grounding
✓ Allowing adhesive to skin over
✓ Touching the flock before curing
Products Used In This Guide
The products below are the same materials used by professional flocking workshops, motorsport teams and restoration specialists throughout the UK.
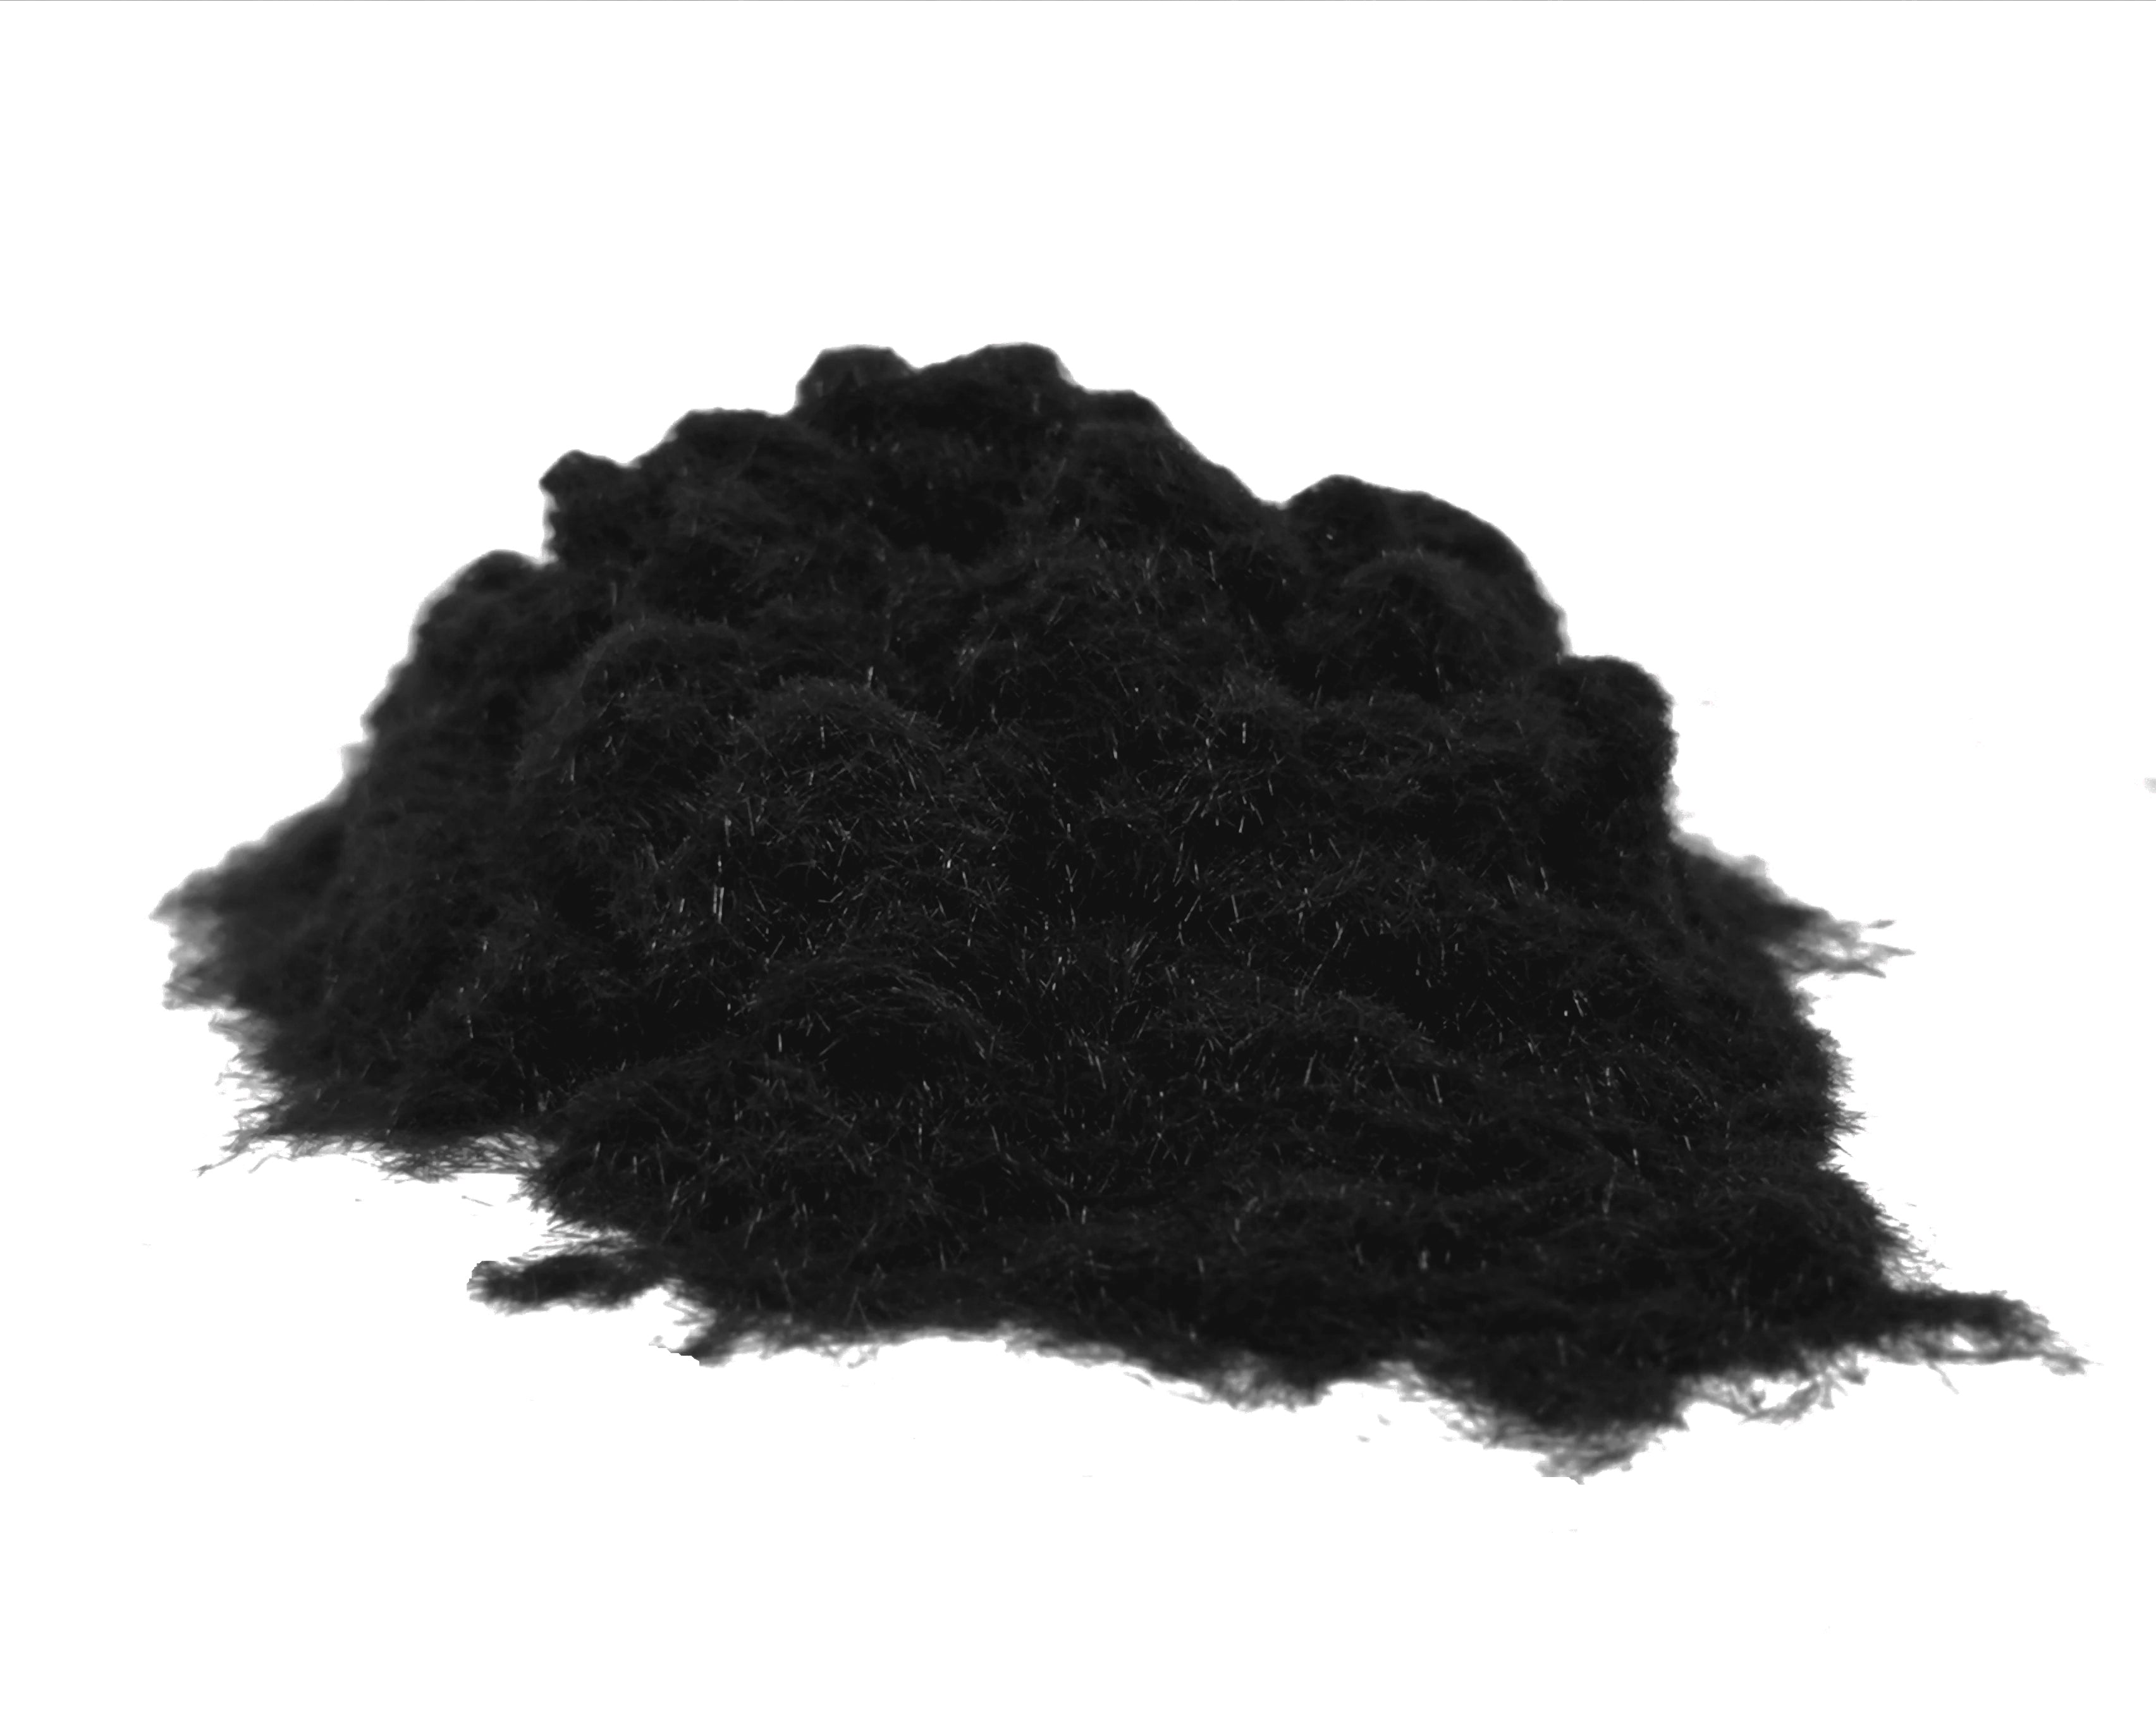
Fibras flocadas negras de nailon de 1 mm y 3,3 Dtex

Ready To Achieve A Professional Dashboard Finish?
Get professional results with the same flocking products trusted by automotive restorers, motorsport builders and professional applicators.